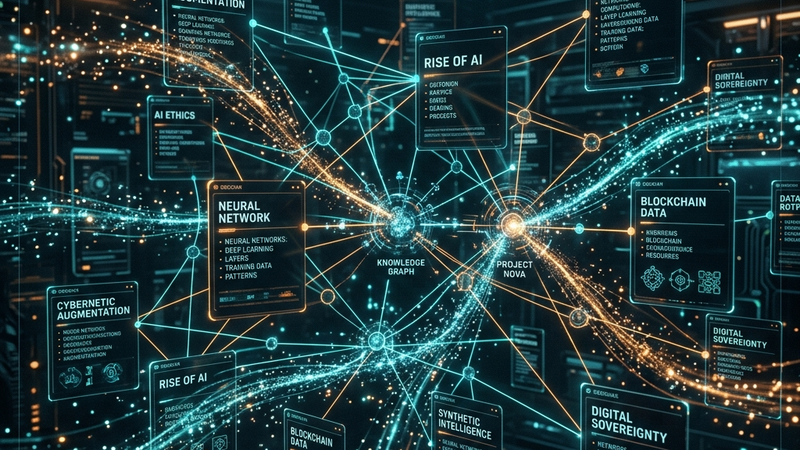
Building an Autonomous Second Brain: Connecting Agentic AI with Obsidian Canvas
Pczio Team
Published
Building an Autonomous Second Brain: Connecting Agentic AI with Obsidian Canvas
For years, the concept of a Second Brain (popularized by Tiago Forte) was focused on archiving: collecting bookmarks, writing down summaries, and organizing directories. But in the age of Agentic AI, static storage is no longer enough.
A modern Second Brain shouldn’t just store what you already know. It should actively synthesize, search, and suggest actions using autonomous agents. By connecting AI agents to Obsidian Canvas, you can transition from a passive database to an active cognitive command center.
1. What is Obsidian Canvas?
Obsidian Canvas is a visual whiteboard tool built directly into Obsidian. It allows you to create infinite canvases containing cards, files, images, and links, connecting them with directional arrows.
Unlike traditional mind-mapping software, every node in Obsidian Canvas can reference an actual local markdown file in your vault. This makes it the perfect UI for visualizing prompt routing and AI execution chains.
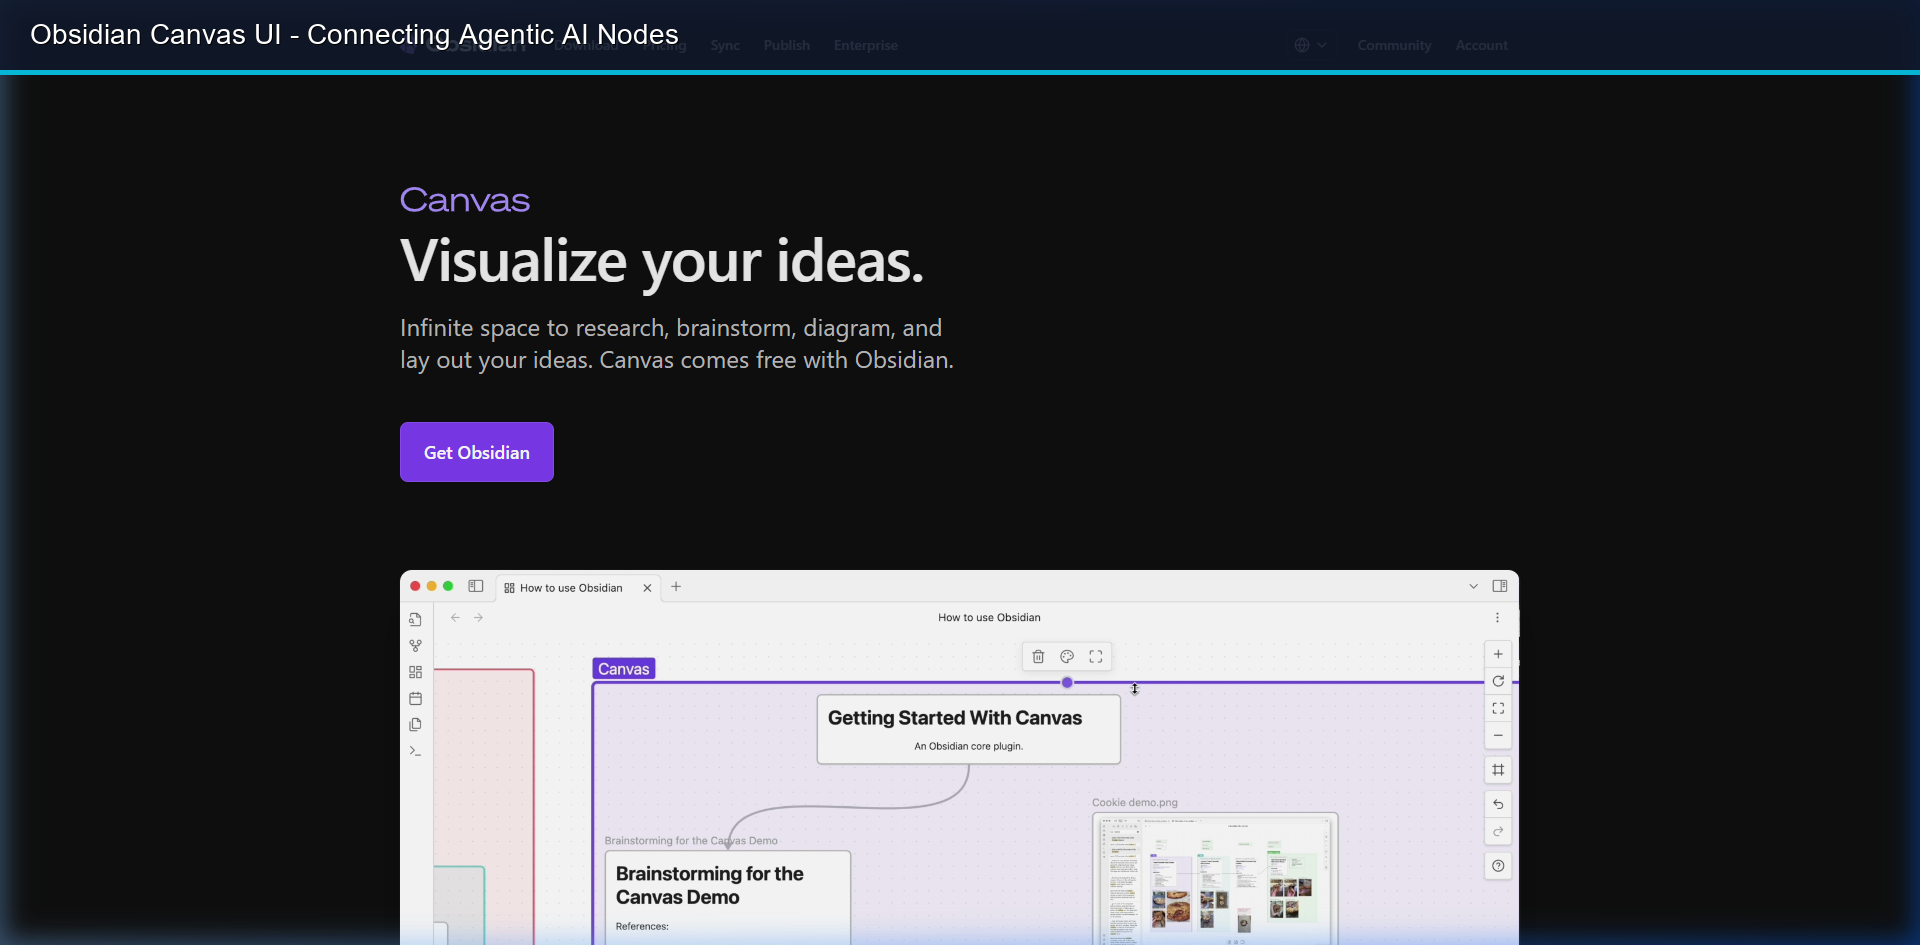 Visualizing prompt routing and agent logic nodes inside Obsidian Canvas.
2. Setting Up an Autonomous Canvas
To link autonomous agents to your canvas, we use a structured folder layout and a local listener script that watches for changes in your markdown files.
graph LR
    A[Obsidian Canvas GUI] -->|Write Instructions| B[Local Markdown Files]
    B -->|Watch Directory| C(Python Agent/Node.js)
    C -->|Execute API / Tool| D[AI Agent Execution]
    D -->|Write Results| B
Step-by-Step Configuration:
| Step | Action | Description |
|---|---|---|
| Step 1 | Create directories | Establish /agents/prompts/, /agents/status/, and /agents/output/ in your Obsidian vault. |
| Step 2 | Add canvas cards | Drop prompts/research-topic.md (input) and output/summary-report.md (output) onto the Canvas. |
| Step 3 | Connect arrows | Create directional arrows connecting input cards to progress logs and output cards. |
Now you have a visual schematic of your AI agent’s inputs and outputs!
3. The Local Python Watcher: Making the Canvas “Live”
You can write a simple Python script that uses watchdog to monitor your vault directory. When you modify research-topic.md on your Canvas, the script automatically triggers an API call to Gemini or Claude and writes the agent’s thought process into agent-log.md in real-time.
import time
from watchdog.observers import Observer
from watchdog.events import FileSystemEventHandler

class AgentHandler(FileSystemEventHandler):
    def on_modified(self, event):
        if event.src_path.endswith("research-topic.md"):
            print("Detected prompt change! Sending to AI agent...")
            # 1. Read the updated prompt file
            # 2. Call Gemini Pro / Claude API
            # 3. Write thoughts to status/agent-log.md
            # 4. Write final output to output/summary-report.md

observer = Observer()
observer.schedule(AgentHandler(), path="./vault/agents/prompts", recursive=False)
observer.start()
When you update a node inside Obsidian Canvas, the file updates on your SSD, the python script executes the prompt, and the resulting card on your screen updates automatically. Your Canvas is now alive!
4. Internal Links & Workspace Integration
To build a fully synchronized system, we must ensure our development notes are linked properly. By referencing your Developer Code Vibe setup or utilizing a Markdown Second Brain outline, you keep your code templates and prompt configurations centralized.
[!TIP] Keep your AI agent’s python listener running as a background service using Windows Task Scheduler or launch it via AutoHotkey on startup to ensure your canvas is always active.
By saving your internet research chats via browser exporters directly to your vault, your local vector databases can index these notes instantly. Build your first visual AI canvas today, and watch your second brain think for you.
Tags